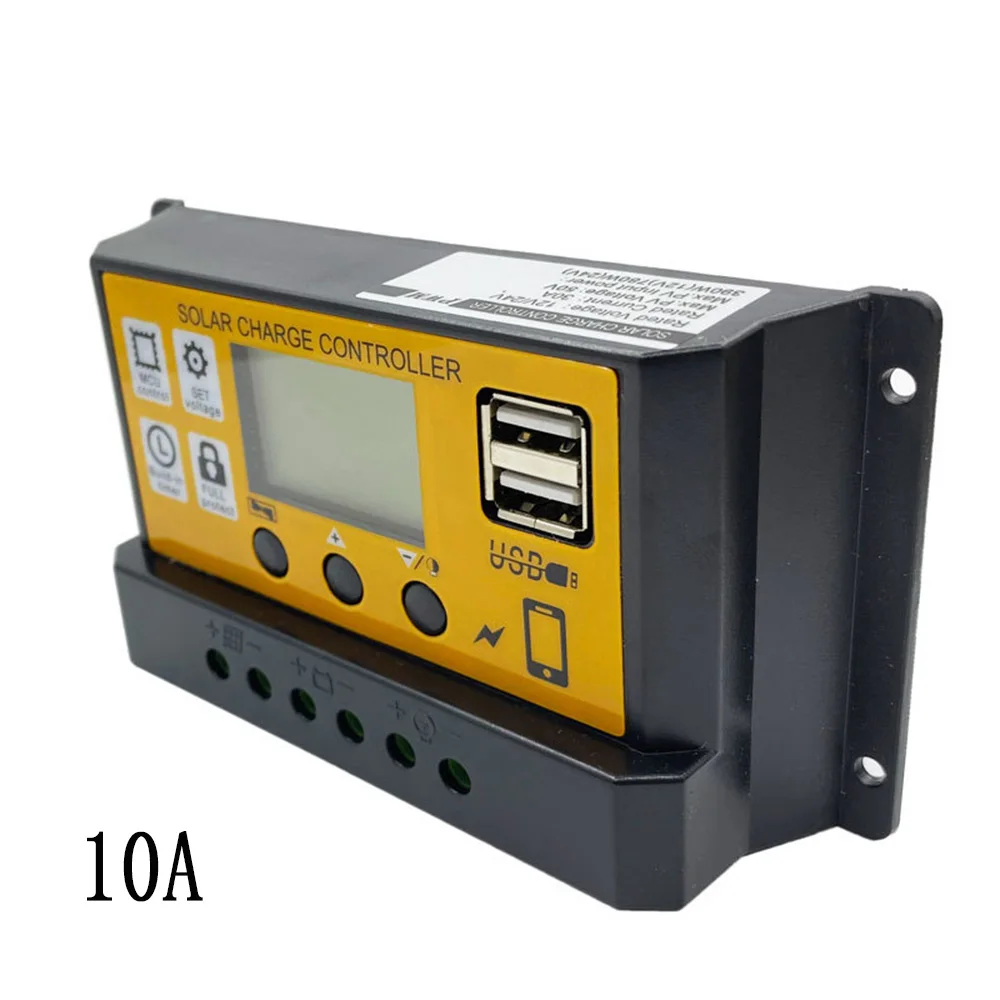
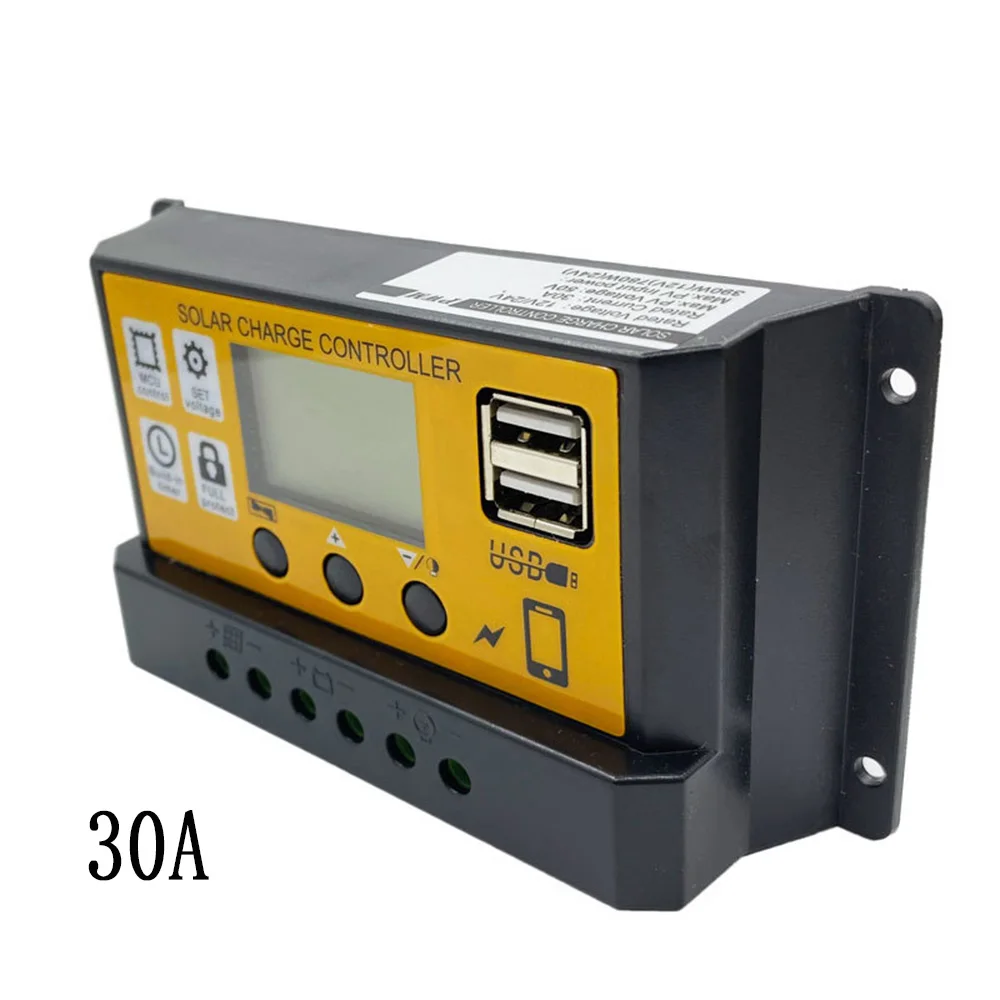
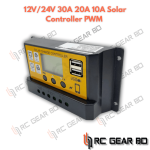
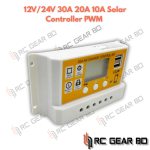
12V/24V 30A 20A 10A Solar Controller PWM Solar Regulator Battery Charger LCD Display Power Accessories
Features:
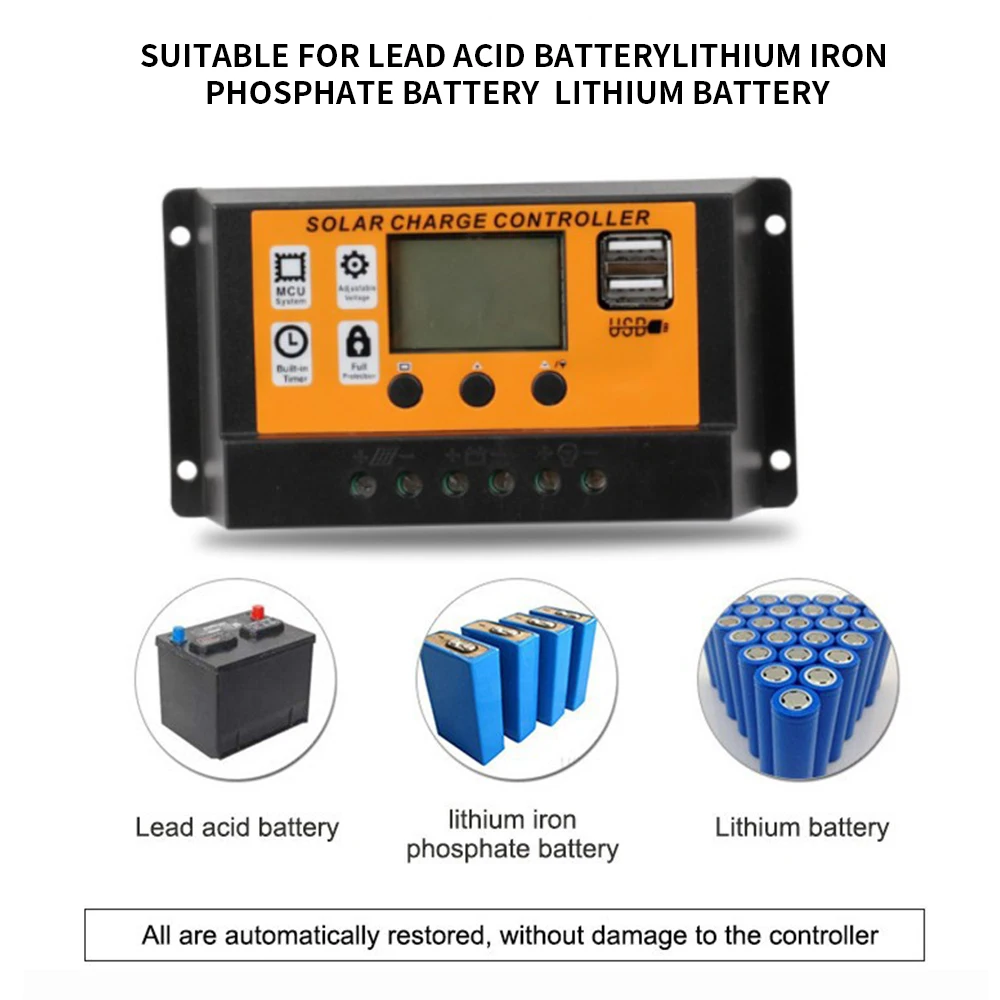
1. Automatic recognition of 12V/24V solar controller, can be charged with 3 types of batteries, lead-acid battery (automatic recognition of 12V/24V battery), lithium-ion battery, lithium iron phosphate battery;
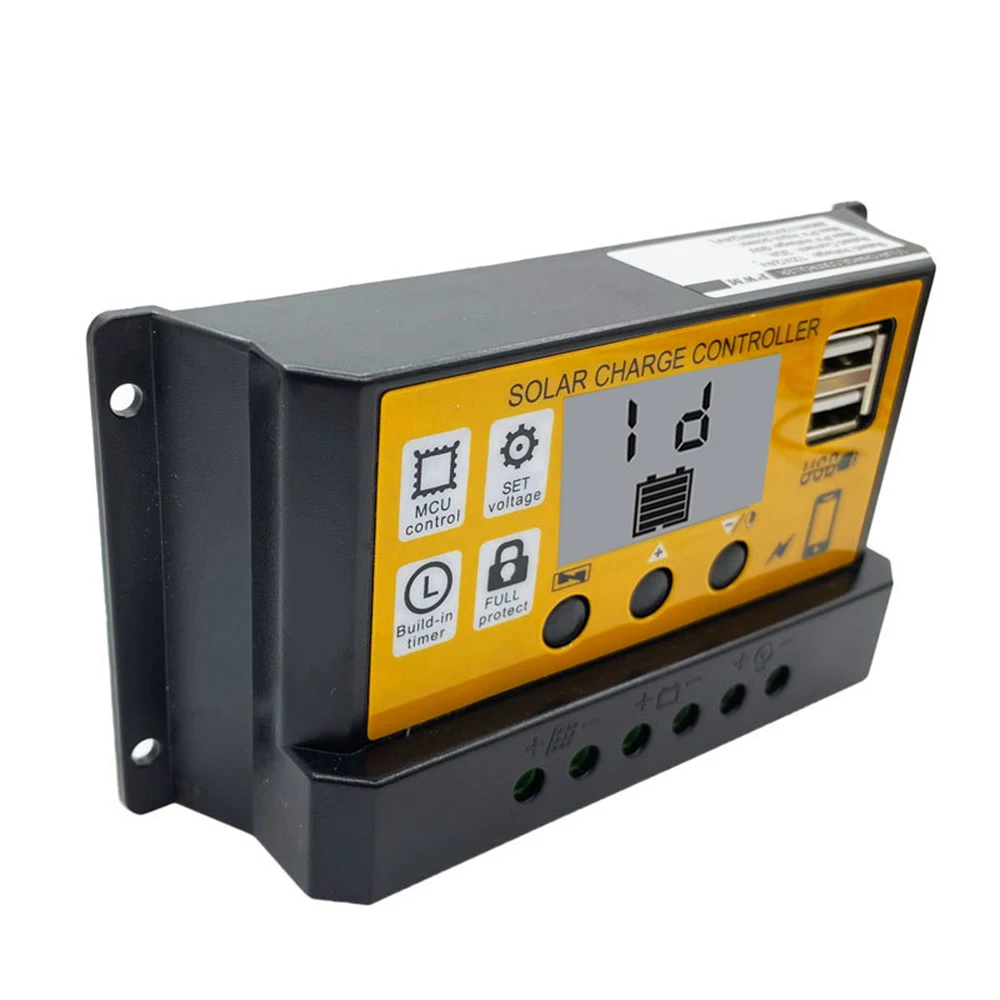
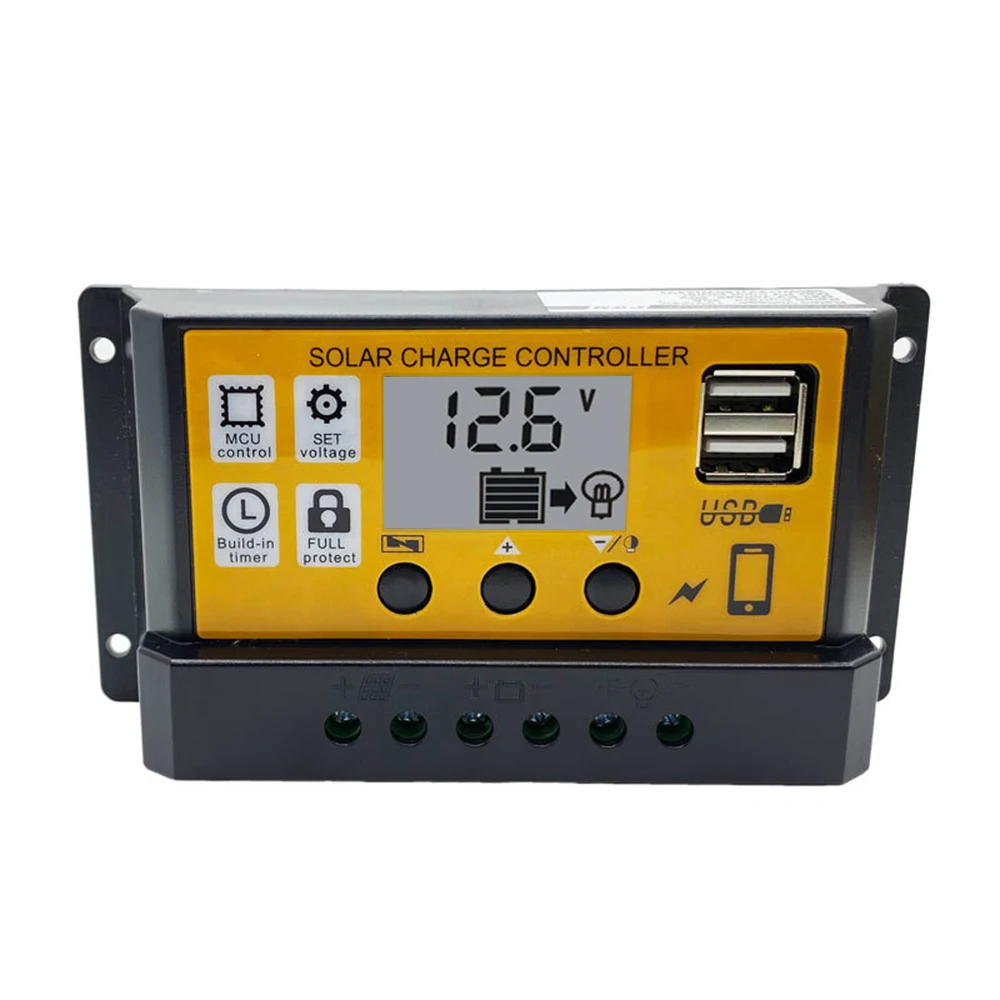
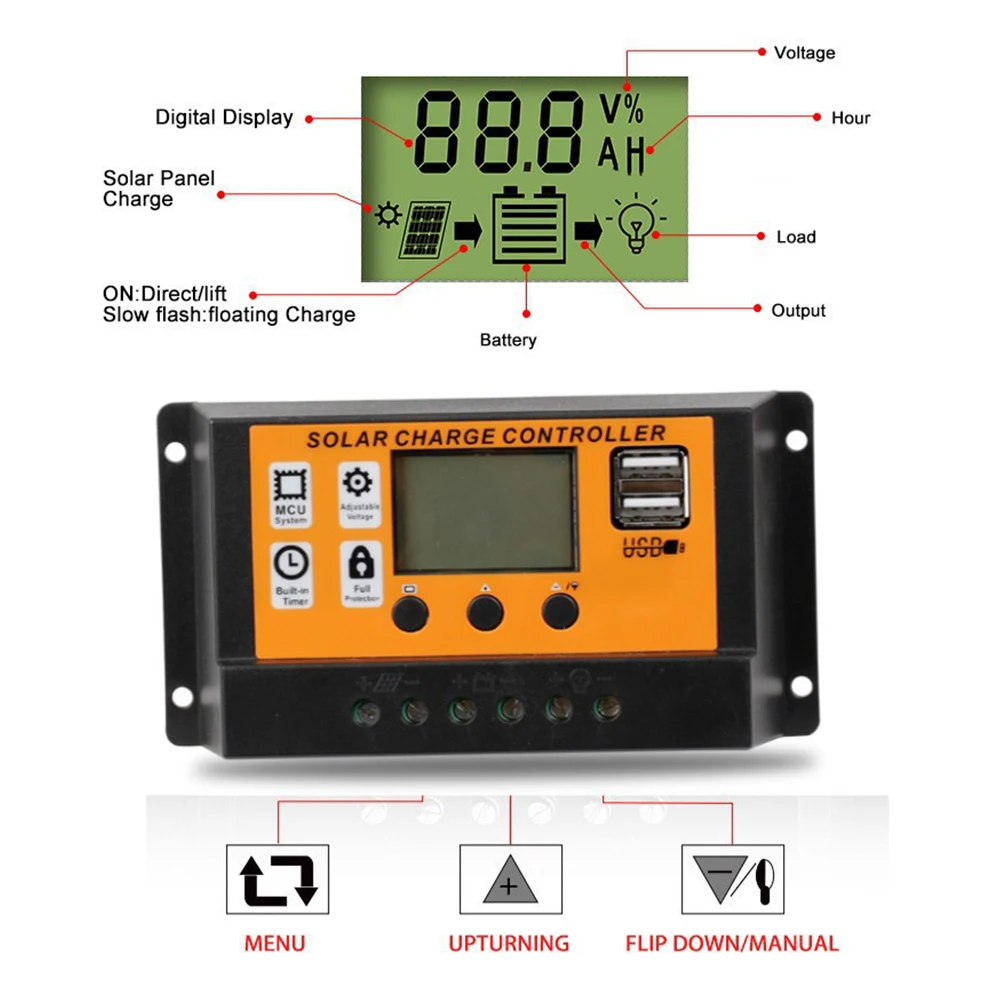
2. Large screen LCD display, charge and discharge parameters can be adjusted
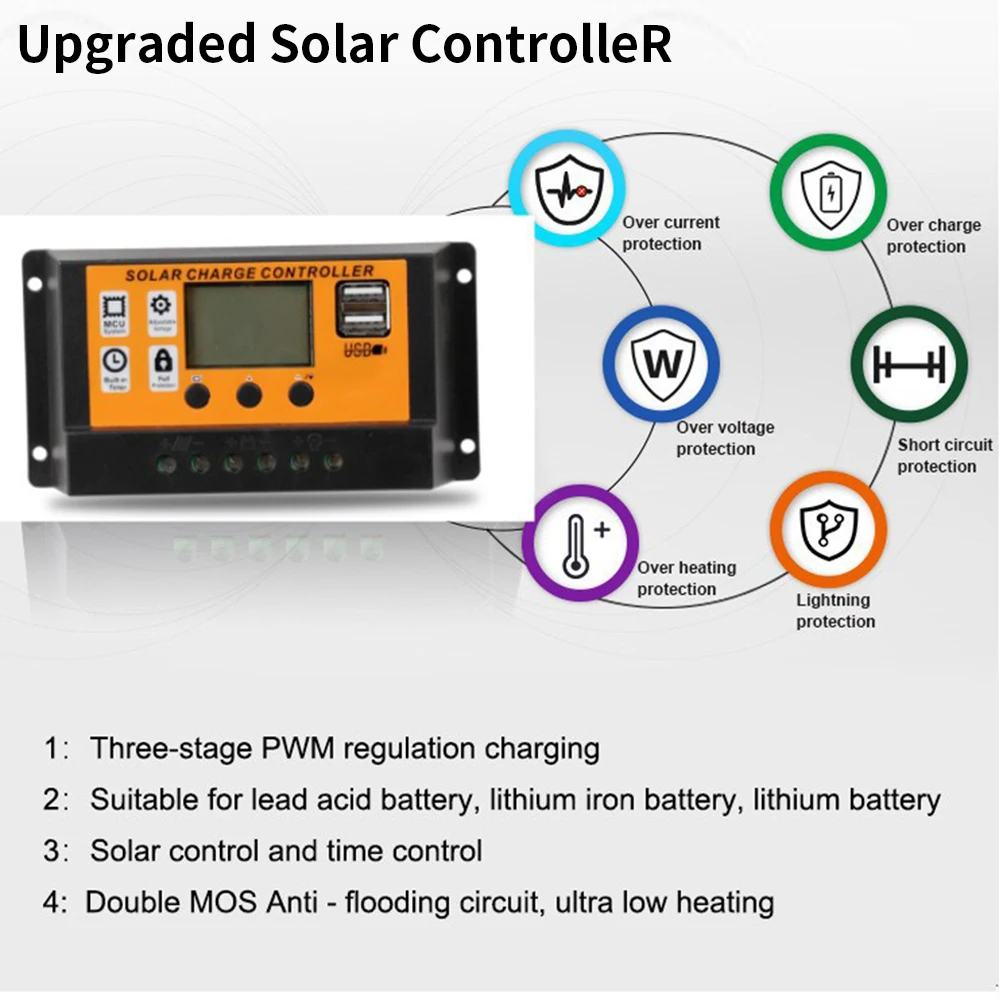
3. Complete 3-stage PWM charge management.
4. Built-in overcurrent/short circuit protection, open circuit protection, back connection protection, all are self-recovery type, do not damage the controller.
5. Dual MOS anti-reverse circuit, ultra-low heat.
Product parameters:
System voltage: 12v/11.1V/12.8v
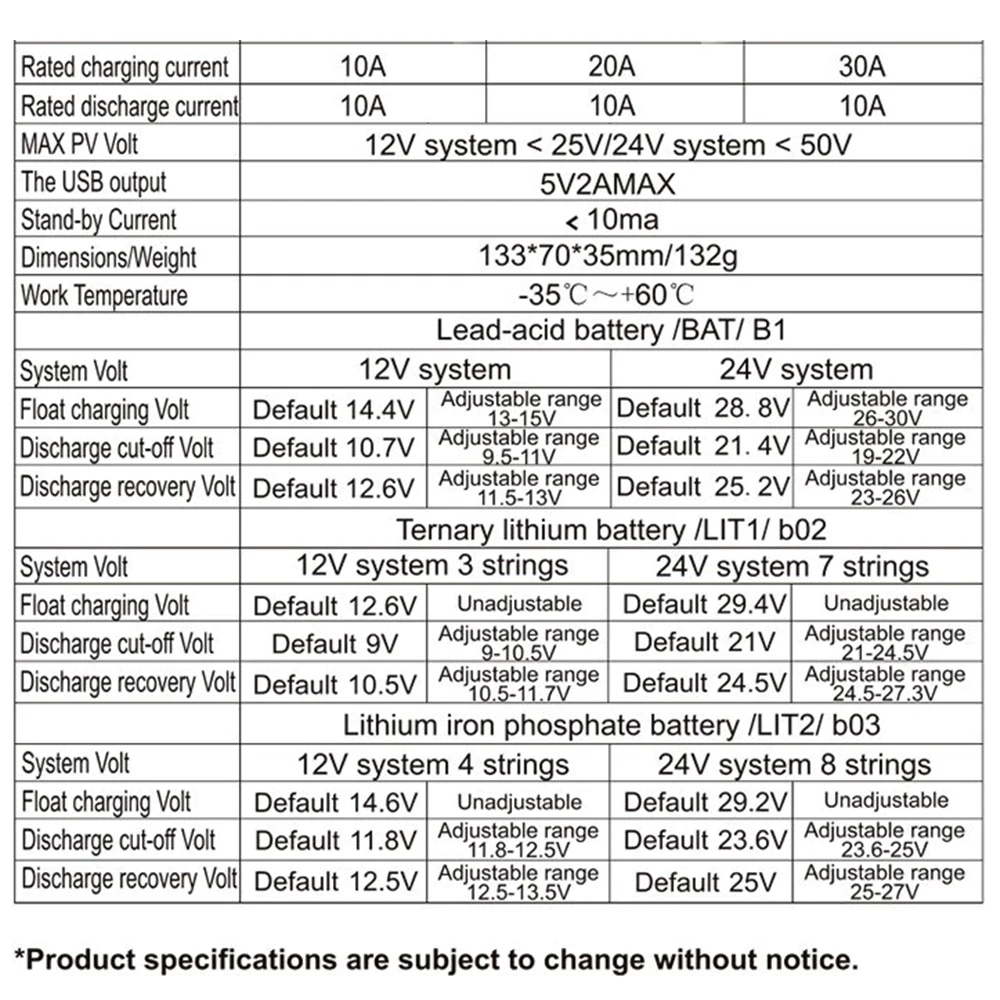
Rated charging current: 10A, 20A, 30A
Rated discharge current: 10A, 10A, 10A
Maximum photovoltaic voltage: 23V when 12V battery; Up to 46V for 24V battery,
Battery Type:
B1 = automatic identification of 12V/24V lead-acid battery
B2 = lithium-ion battery (lithium battery) 3 strings 3.7V = 11.1V
B3 = lithium iron phosphate 4 series 3.2V = 12.8v
Charging cut-off voltage: 14.4V(B1), 12.6V(B2), 14.6V(B3)
Discharge cut-off voltage: 10.7V(B1), 9V(B2), 10V(B3)
Discharge recovery voltage: 12.6V(B1), 10.5(B2), 12V(B3)
Light-controlled light switch threshold: 8V photovoltaic panel (light-controlled light switch has delay)
Light controlled off threshold: 8V photovoltaic panel (light controlled off delay)
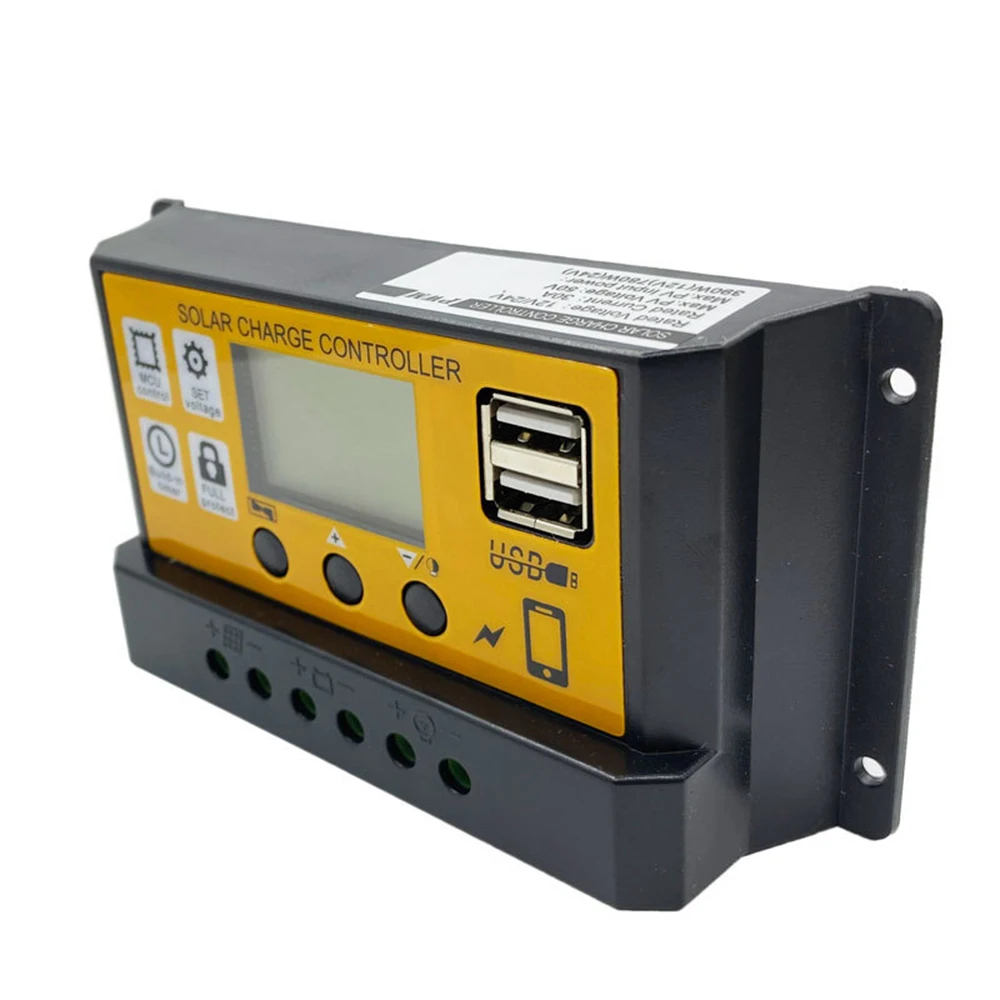
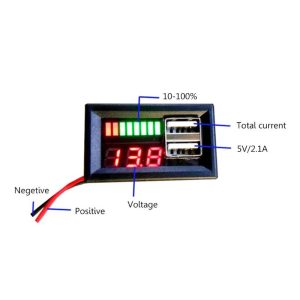
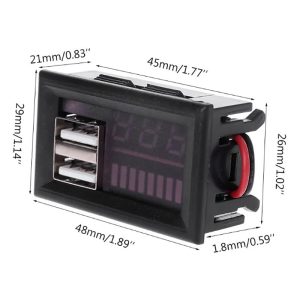
USB output: 2 USB outputs, 5V/2.5A(Max)
Standby current: <10mA
Operating temperature: -35 + 60c
Size: 133.5*70*35mm
Note: The controller uses B2 lithium-ion batteries by default. The battery type is B2. When using the lead-acid battery controller, set the battery type to B1. Set the lithium iron phosphate battery to B3.
Supported battery types:
B1 = 12V/24V lead-acid battery (automatic identification)
B2 = lithium-ion battery (lithium battery) 3 strings 3.7V = 11.1V
B3 = lithium iron phosphate 4 series 3.2V = 12.8V
System Connection:
1. Connect the positive and negative terminals of the battery to the controller as shown in the figure. The controller automatically detects the battery voltage.
2. Connect the positive and negative load terminals to the controller as shown in the figure. Do not reverse the connection.
3. Connect the solar panel to the controller according to the figure.
Note: Strictly follow the above sequence; otherwise, the controller may be damaged. The disassembly sequence is opposite to the wiring sequence.
Suggestions for safe use:
1. The controller is an automatic adaptation of 12V/24V lead-acid battery. When installing the controller for the first time, please make sure the battery has enough voltage so that the controller can identify the correct battery type.
2. Install the controller as close to the battery as possible to avoid voltage drops caused by long wires, which affect normal voltage judgment.
3. This controller is only applicable to all types of lead-acid batteries (including open, sealed, colloid, etc.), do not use on other batteries (including lithium batteries, nickel metal hydride batteries, etc.)
4. The controller can only use the photovoltaic panel as a charging source. Do not use direct current or other power sources as a charging source. 6. The controller will heat up during operation, please pay attention to installing the controller on a smooth and well-ventilated surface.
Package List:
Solar controller x1


 AC Pump
 Air Pump
 DC Solar Pump
 Brushless Motor
 Stepper Motor
 Servo Motors
 AC Synchronous Motor
 Linear Actuator Motor
 Audio Amplifier
 Convertor Boards
 Microcontroller
 Motor Driver
 Relay
Relay Voltage Regulator
 Charger & Power Supply
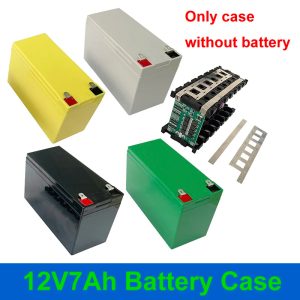
 Battery Holder Case
 Li-Po Battery
 Lithium iron phosphate battery
 Solar Panel & Inverter
 3D Printer Parts
 Body Chassis
 CNC Parts
 Gears – Gearboxes
 Hub – Motor – Wheel Coupler
 Motor Holders
 Enclosures & Cases
 Wheels – Shafts
 D
D


Reviews
There are no reviews yet.